A quick step guide that will show you how to grab music from your favorite artists's MySpace page.
There are many audio files available for playback on the venerable MySpace site yet, very few are available as downloads. There's a number of ways to bypass this problem and I will cover two of best the methods here for you to use, the first being the easiest.
METHOD A - FreeMusicZilla
METHOD B - Audacity
FreeMusicZilla
1. Download and install FreeMusicZilla.
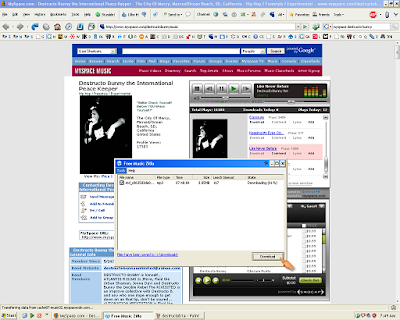
2. Open FreeMusicZilla, visit the desired MySpace page, and play the song you want to download. It will then automatically grab whatever music track you selected (FreeMusicZilla also works for Pandora, Last-fm, eSnips, MOG, iJigg, and IMEEM)
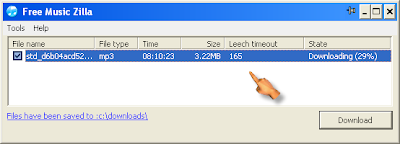
3. Select the grabbed music track and press the DOWNLOAD button. Your download should then begin. Make sure you begin downloading the track before the "Leech Timeout" counter runs out otherwise you'll have to refresh the page.
EXAMPLE:
In the picture below I used the MySpace page of my buddy DJ Destructo Bunny. He's a local up and coming hip-hop artist and I urge you to show some support if you like what you hear by either buying a track or two or by trying to check out one of his upcoming shows.
NOTE: FreeMusicZilla places your downloads in the location "C:downloads" by default.
Audacity
1. Download and install Audacity.
yes
2. Now we need to install a LAME MP3 encoding driver so you can save tracks in the .mp3 format.
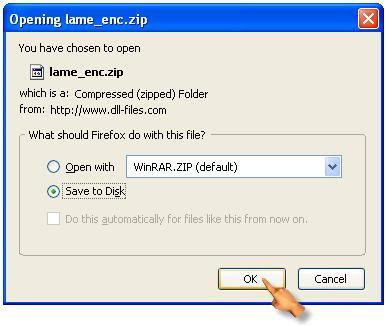
First download the driver, which you can do here. It's in ZIP file format, so for those of you who are unfamiliar with what ZIP files are, there's a guide here at Zeropaid you can take a look at.
erew
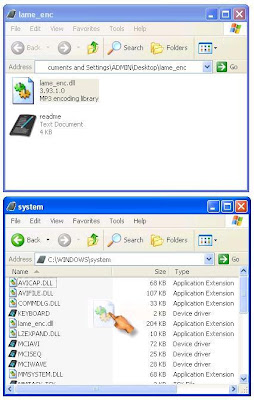
Now drag and drop the driver in the location shown below, "C:WINDOWSsystem."
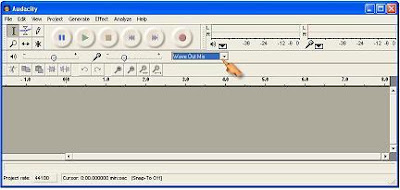
3. Select "Wave Out Mix" as the audio recording device.
no
EXAMPLE:
Now it's time to find some audio tracks to rip.
A good friend of mine is the lead-singer for a band called The Wagon here in San Diego and has been kind enough to allow me to use his band's music on MySpace for this tutorial.
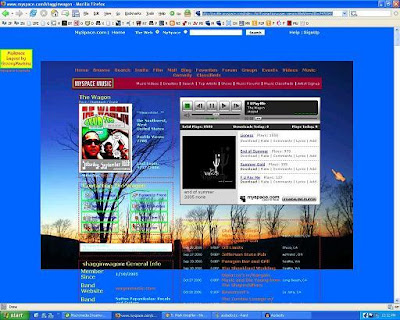
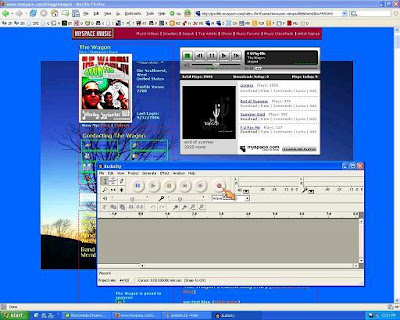
The image below is of the band's page. Notice how the top two songs are available for download and the bottom two are not. We're going to rip the second song from the top titled "End of Summer," a personal favorite of mine not to mention timely with Summer drawing to a close.
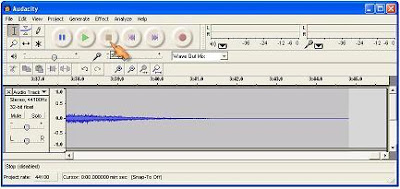
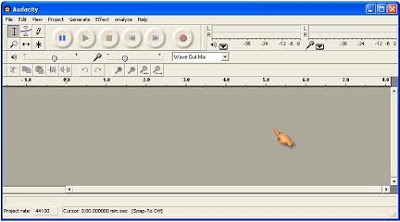
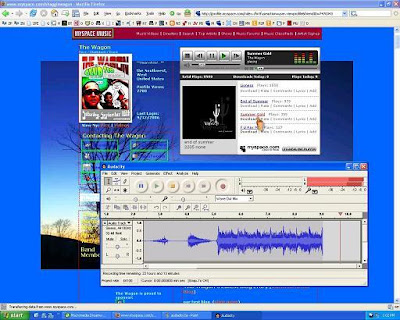
Now with Audacity and the MySpace page open, click the "record button" on Audacity as shown below and then quickly press the "play button" on the End of Summer track. The track should begin to play and thereby be displayed as eloquent peaks and valleys of music in the Audacity track window.
When the song is finished playing press the "stop button" on Audacity. This will of course stop the recording and allow us to go back and edit the song.
The reason we need to edit the song is because there will be periods of silence in both the beginning and end of our recording. This silence is the delay in reaction time it took for us to both start and stop the process.
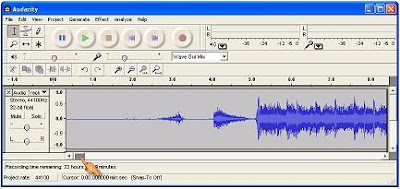
Using the scrollbar on the bottom of the track window, scroll back to the beginning of the recording as pictured below.
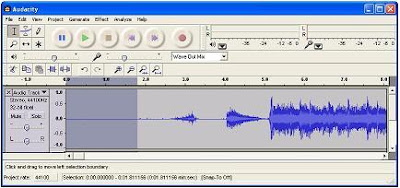
Using the mouse place your cursor as close to the beginning of the song as possible, then click and drag it all the way to the left and release. We have just selected the silence in the front of the track, which we will now discard by pressing the "delete button" on your keyboard.
Now we need to do the same thing for the end of the recording. To do so simply scroll to the end of the track and then select and delete the silence as you did with the beginning of the track. It's that easy.
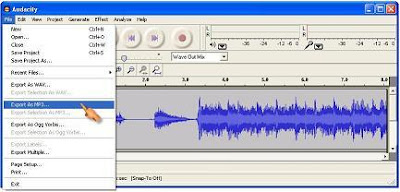
From the "File" tab select "Export as MP3" as shown below.
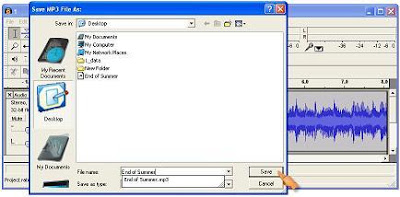
It will then prompt you to select a name to save it as, which in this case will be "End of Summer."
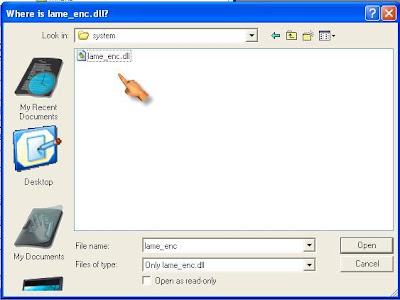
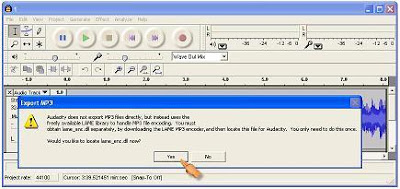
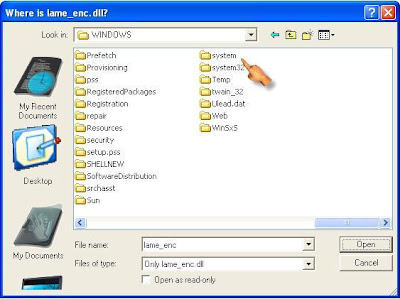
After clicking on the "Save" tab, it will then ask you to "locate the LAME MP3 encoder" we just installed.
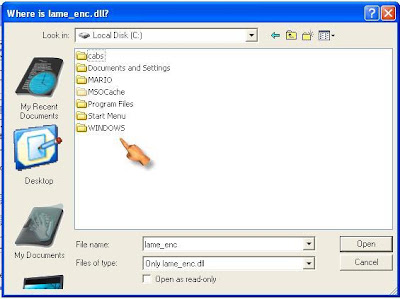
Hopefully you remember where we just put it but, just in case I'll show you where to go.
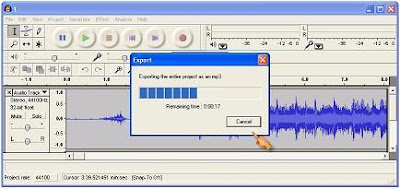
Once this is done it'll begin to encode the track and turn it into an MP3, the music file type necessary to play on your iPod or whatever media player of choice.
And with this ladies and gentleman the track is ready to go.
Admittedly, configuring the Audacity program to perform as necessary initially takes a little while, but once this is done future recordings or "ripping" of audio files will be a breeze.
No comments:
Post a Comment